Integrating Avi Vantage with VRO using vRealize Orchestrator Plugin
Overview
This guide explains the process of integrating Avi Vantage with vRO using vRealize orchestrator plugin.
Note: The steps explained in the below sections are only the examples. However, you can create your own workflows and actions.
Integrating Avi Vantage with VRO
The following are the steps to integrate Avi Vantage with VRO:
- Open vRealize orchestrator plugin repository. Navigate to Release option.
-
Select the latest plugin file or .dar file. You can also directly install .dar file from Avi vRealize Orchestrator Plugin link.
-
Install the selected plugin file.
For more details on vRealize Orchestrator plugin details, refer to Installing Plugin to vRealize Orchestrator user guide.
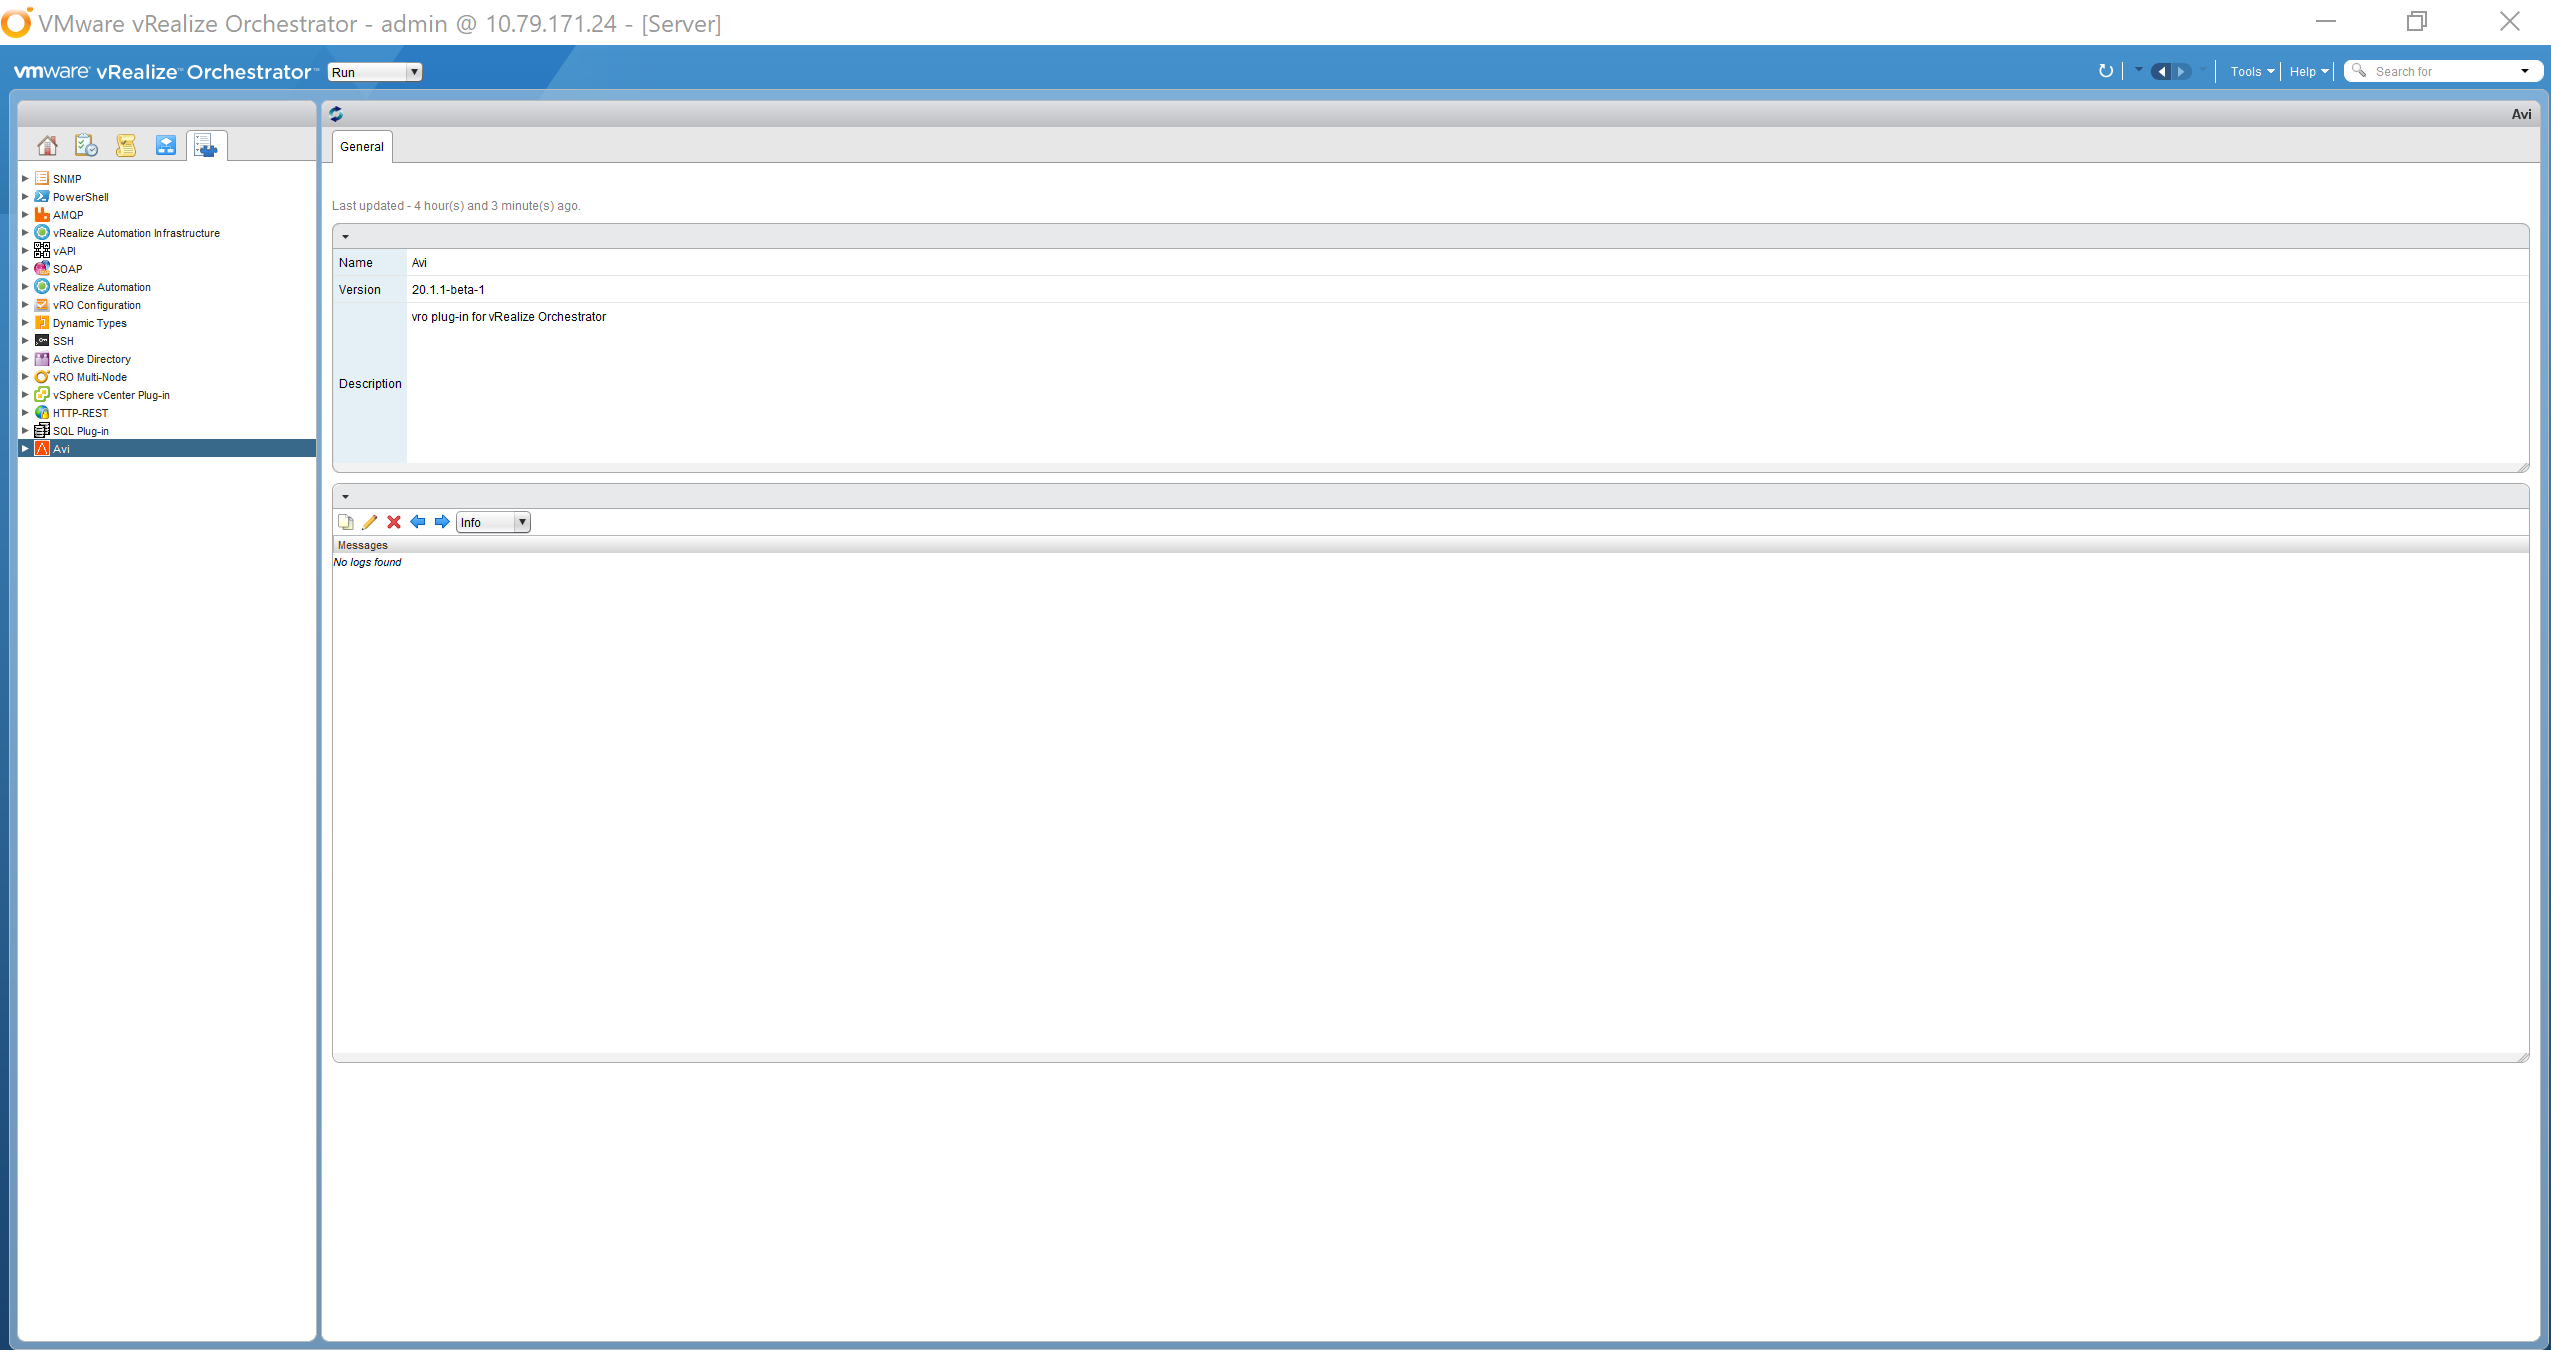
Note: Ensure that if you are upgrading the vRealize Orchestrator plugin, check for the upgraded version in vmware vRealize Orchestrator window.
- Once the installation is successful, you can view the Avi icon in the Inventory tab in vmware vRealize Orchestrator window.
Checking the Version
You can view the plugin details in the Workflow tab.
-
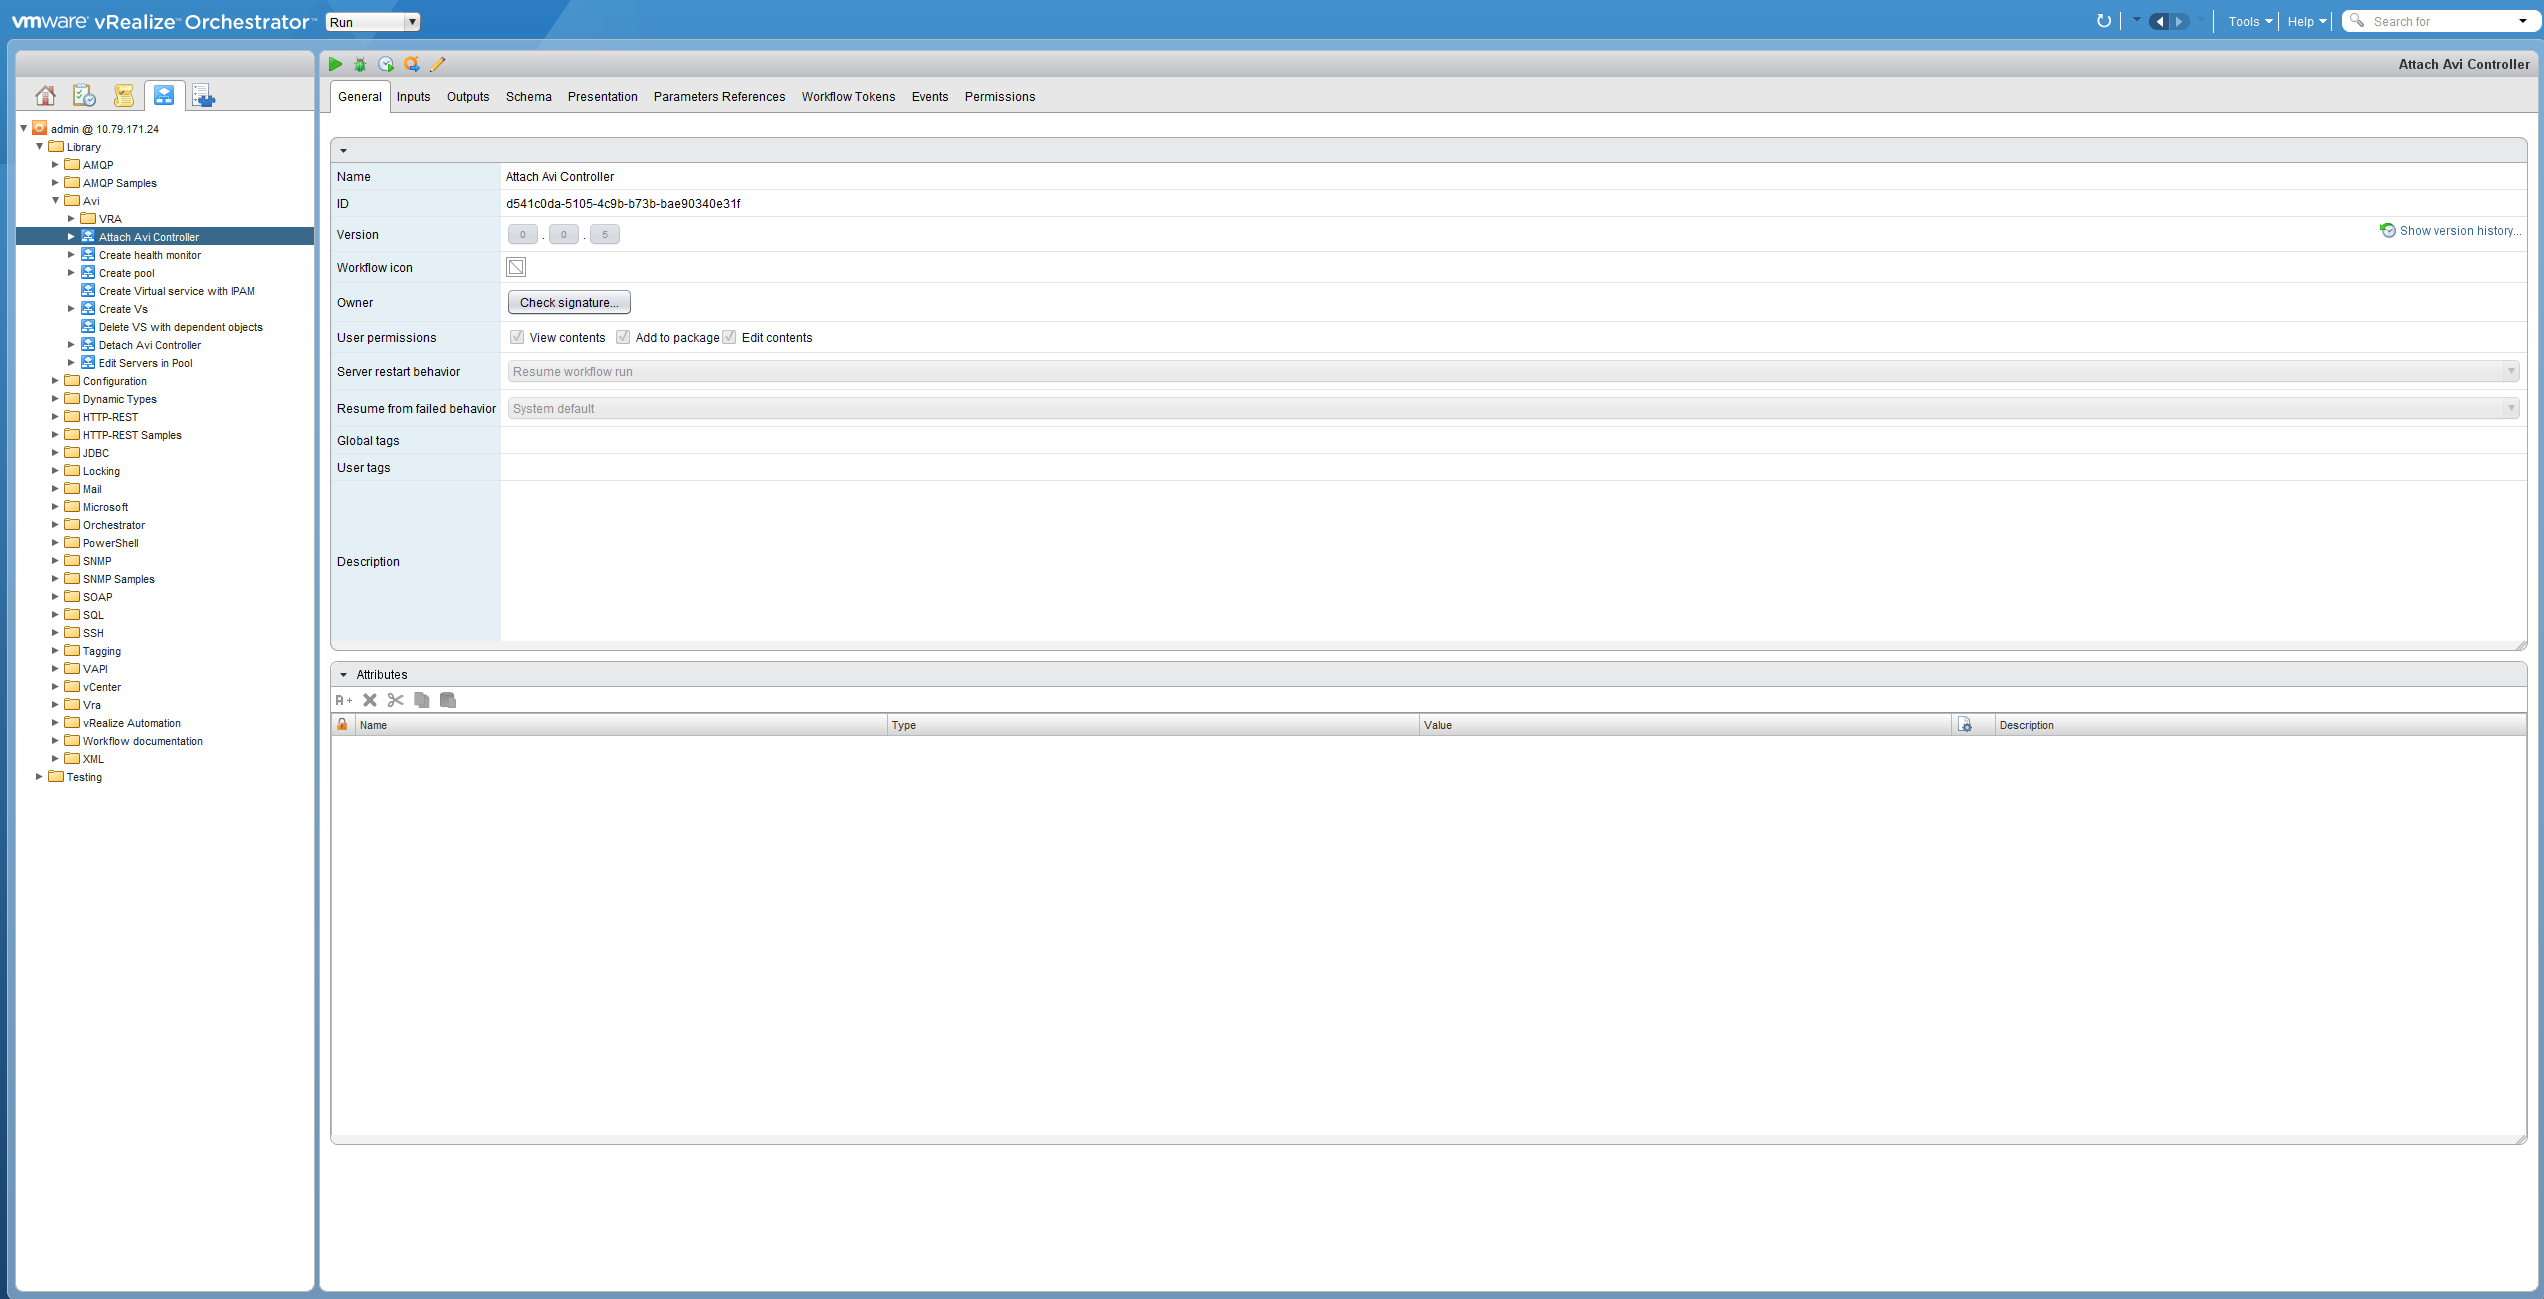
Navigate to Workflow > Library > Avi tab on the left-hand side in vmware vRealize Orchestrator window.
-
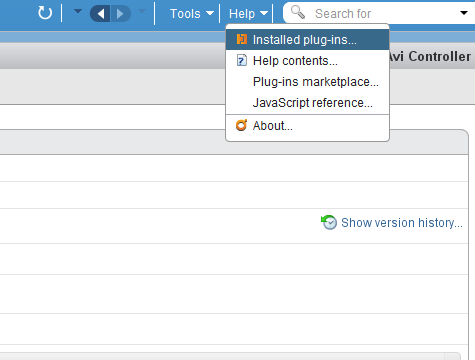
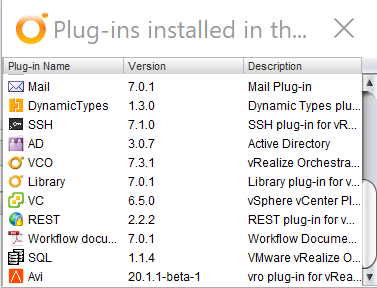
You can also check for Avi workflow by navigating to Help > Installed Plugins.
-
The list of installed plugins is displayed as follows:
Workflow Tab
Attaching Avi Controller Workflow
You can create your own workflows in the Workflow tab for custom use cases.
To perform any operations on Avi Controller, you can attach the same in vRealize Orchestrator window.
The following are the steps to attach Avi Controller:
-
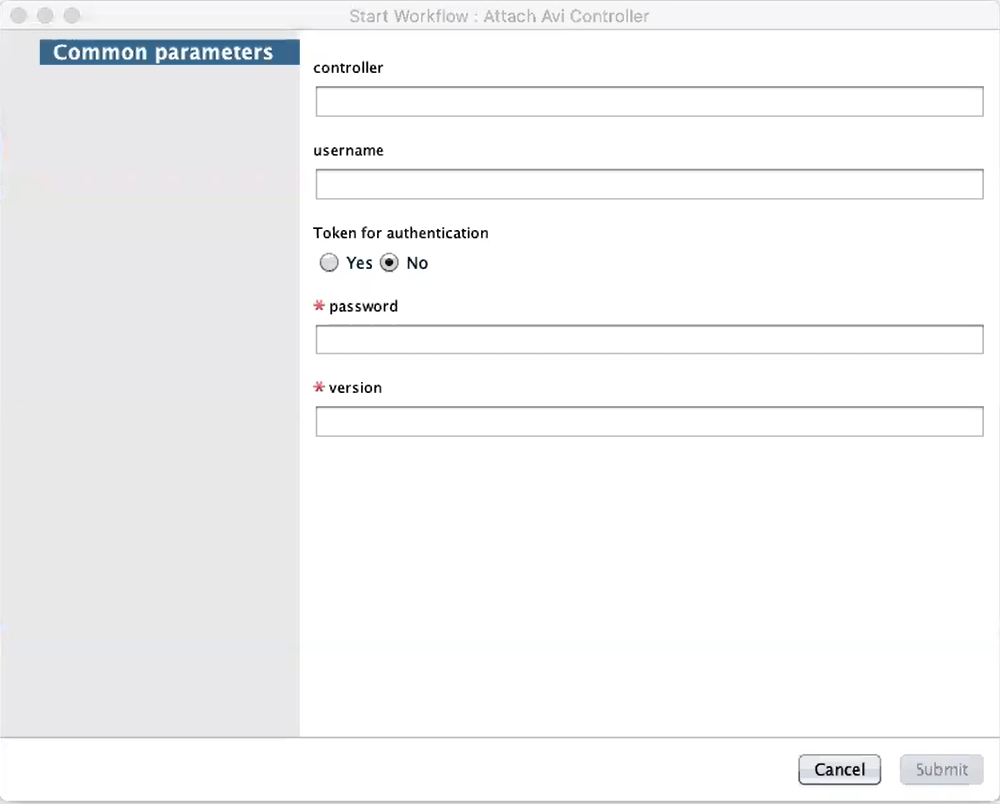
You can click on the existing Attach Avi Controller workflow to attach the Avi Controller and click on the Start Workflow button. You can also right click on the selected workflow and select Start Workflow option. The following window is displayed:
-
Specify the Controller parameters such as, Controller IP, username, password, and version details. Click on the Submit button.
-
The workflow will be executed successfully. You can check if the Controller is connected by navigating to the Inventory tab. All the virtual services available on that Controller are listed in the Inventory tab.
Creating Virtual Service
The following are the steps to create virtual service:
-
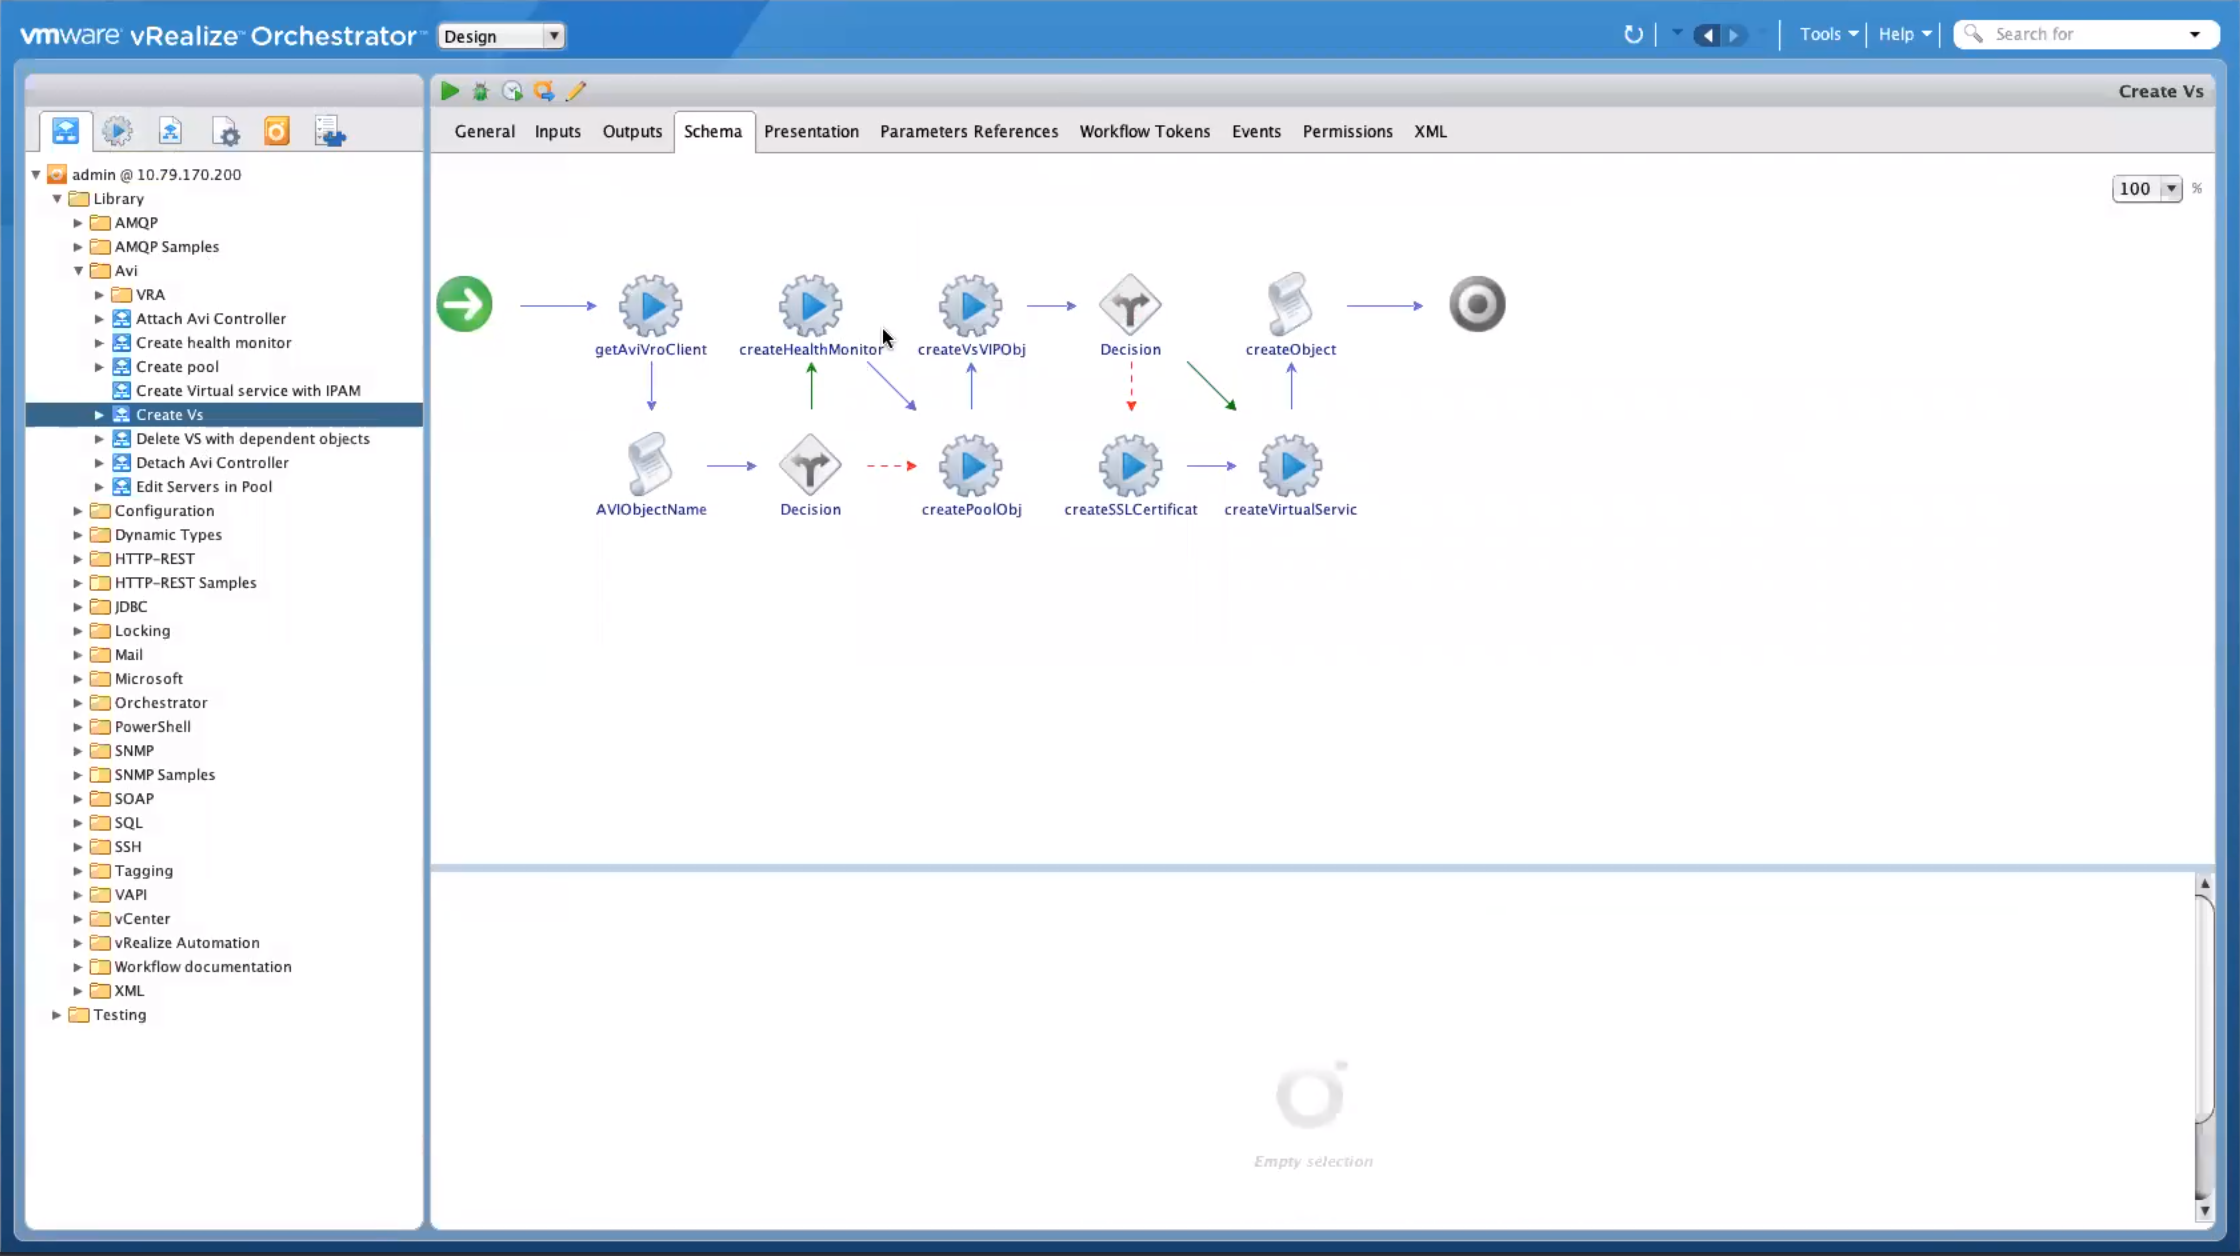
Navigate to the Workflow tab. Run Create VS option. The following window is displayed:
-
Click on the Basic Details tab in the Create VS window.
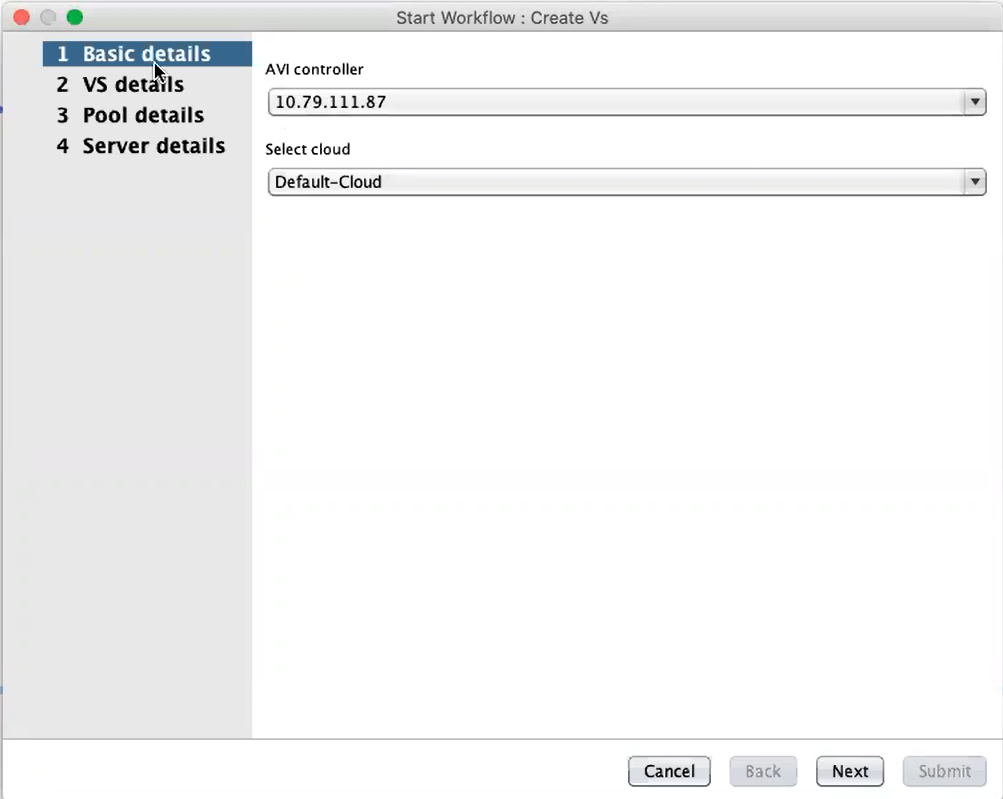
a. Select the Controller from the drop-down list on which you want to execute this workflow on.
b. Based on the Controller selected, the clouds related to that Controller will be displayed in the Cloud drop-down list. Select the appropriate option. -
Click on the Next option.
- The VS Details tab is opened. The following window is displayed:
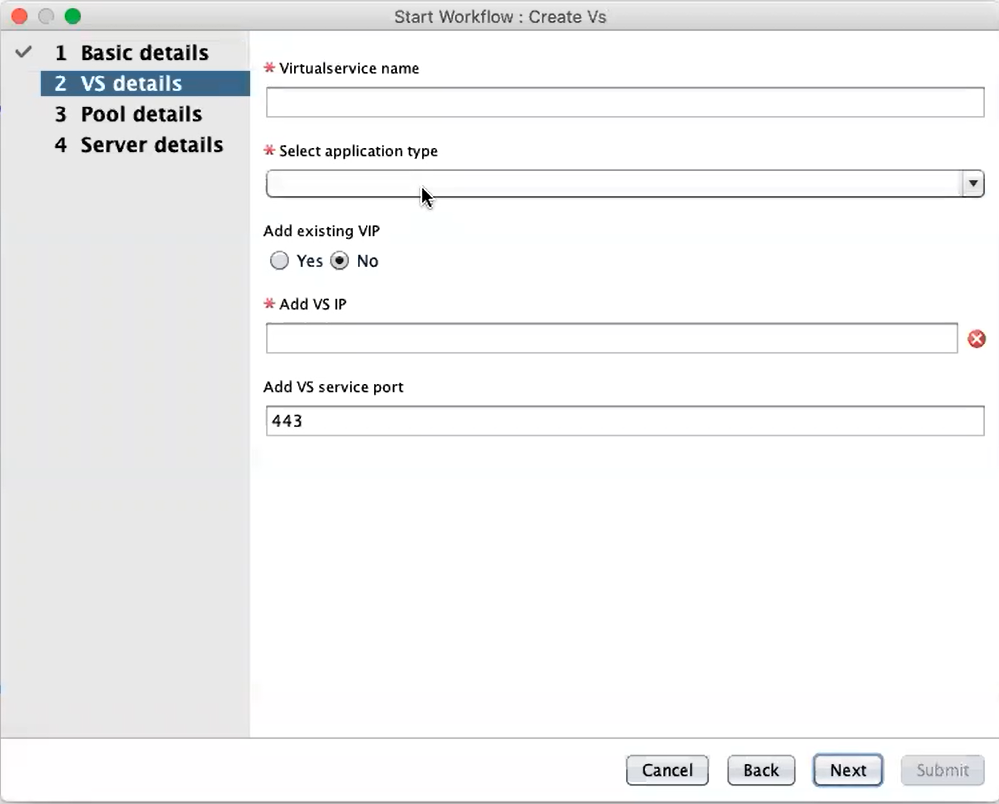
a. Specify the virtual service name.
b. You can select the application type from the drop-down list. The following are the list of application types based on the application profiles:
Application Type Application Profile (selected) TCP/UDP Profile (selected) HTTP System-HTTP System-TCP-Proxy HTTPS System-Secure-HTTP System-TCP-Proxy TCP System-L4-Application System-TCP-Fast-Path UDP System-L4-Application System-UDP-Fast-Path c. You can add an existing VIP by selecting Yes option in Add Existing VIP field.
d. If you are not using existing VIP, then you need to specify the virtual service IP address in Add VS IP.
e. You can create an SSL certificate by selecting Yes option in Create SSL Certificate field.
f. If you do not want to create an SSL certificate, click on No and select System Default Certificate option in Select Certificate field.
g. Specify virtual service port details in Add VS Service Port field. -
After specifying the necessary details, click on the Next option.
-
The Pool Details tab is opened. The following window is displayed:
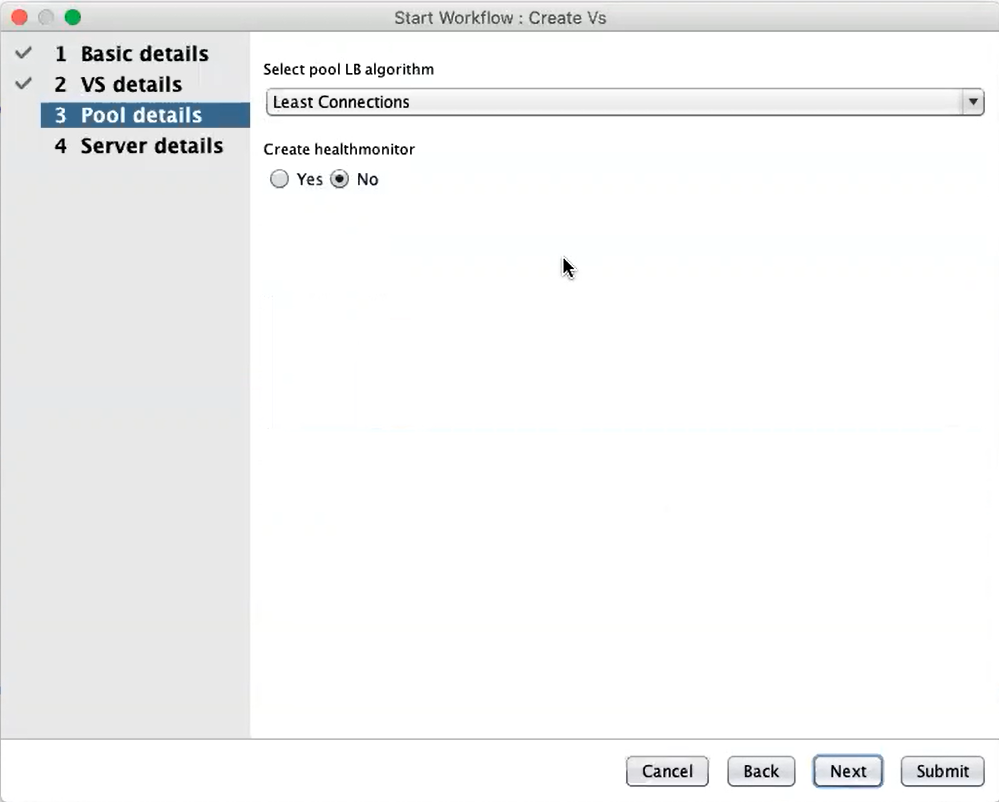
a. Select the pool load balance algorithm from the drop-down list.
b. You can create a health monitor by selecting the Yes option in the Create Health Monitor window. -
If you select Yes option, then the Health Monitor Details tab is opened. The following window is displayed:
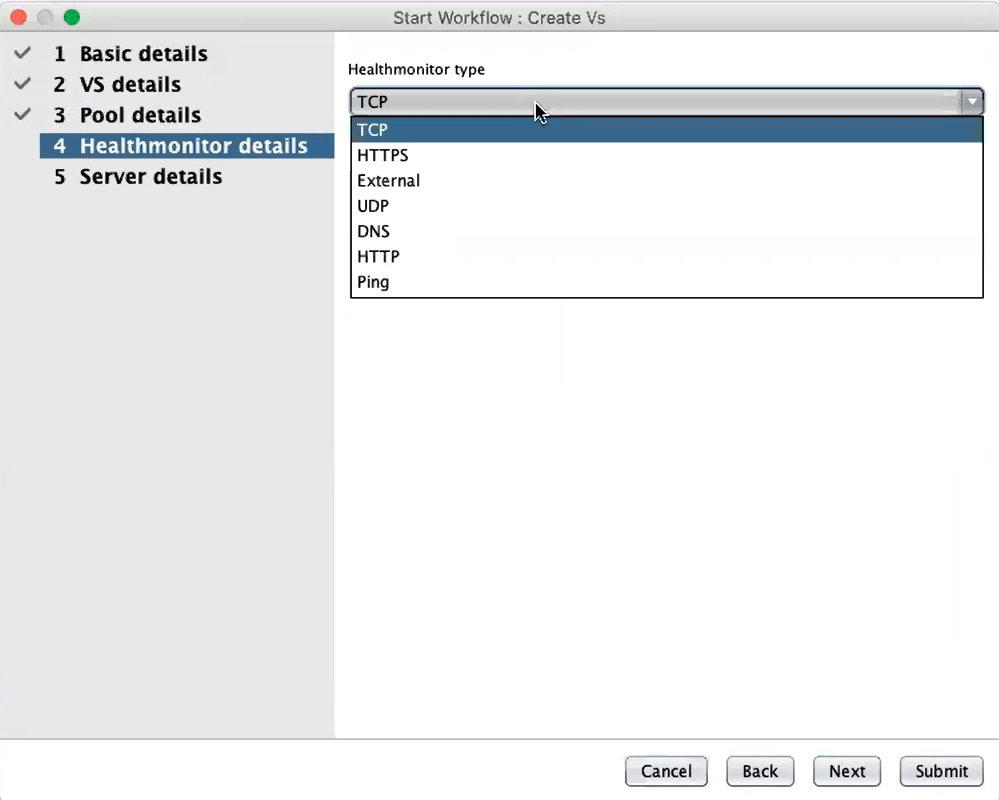
a. Select the health monitor type from the drop-down list.
b. For HTTPS health monitor, specify the HTTPS response code. -
Click on the Next option. The Server Details tab is opened. The following window is displayed.
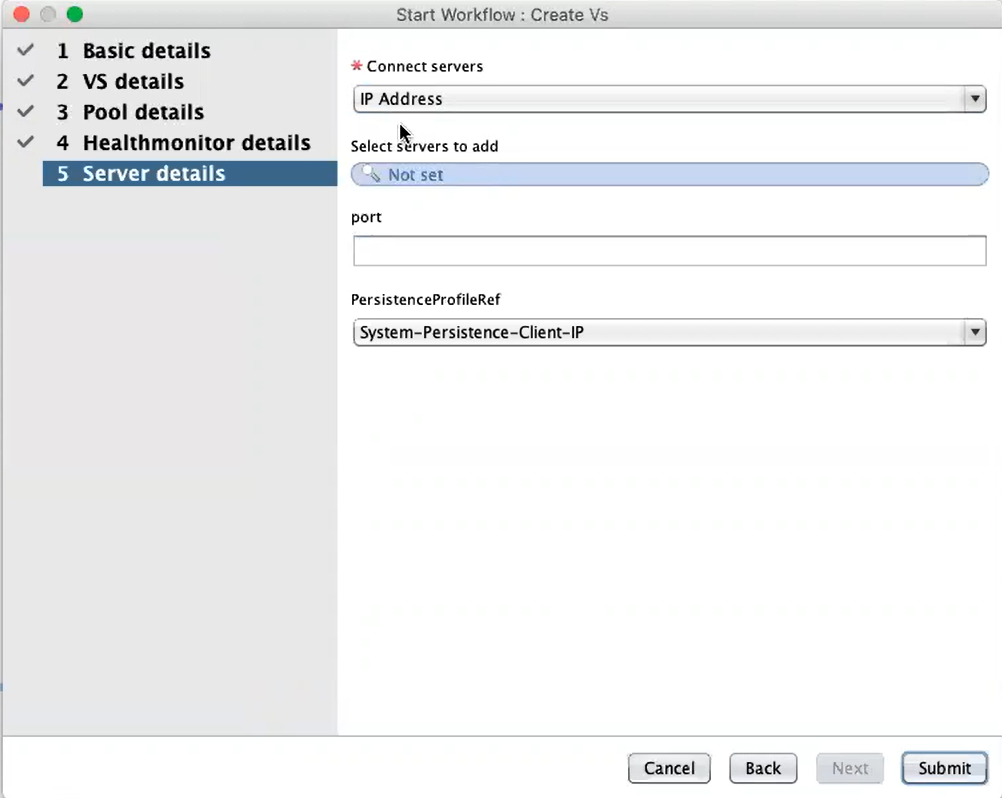
a. Add the servers by selecting the appropriate option in the drop-down list of Connect Servers field.
b. Specify the backend server details in the Select Servers to add field.
c. Specify the default port for the selected servers in the Port field.
d. Select the appropriate persistence profile from the drop-down list of the Persistence Profile Ref field. - After specifying all the necessary details, click on the Submit button. The virtual service will be created on the Controller.
Actions Tab
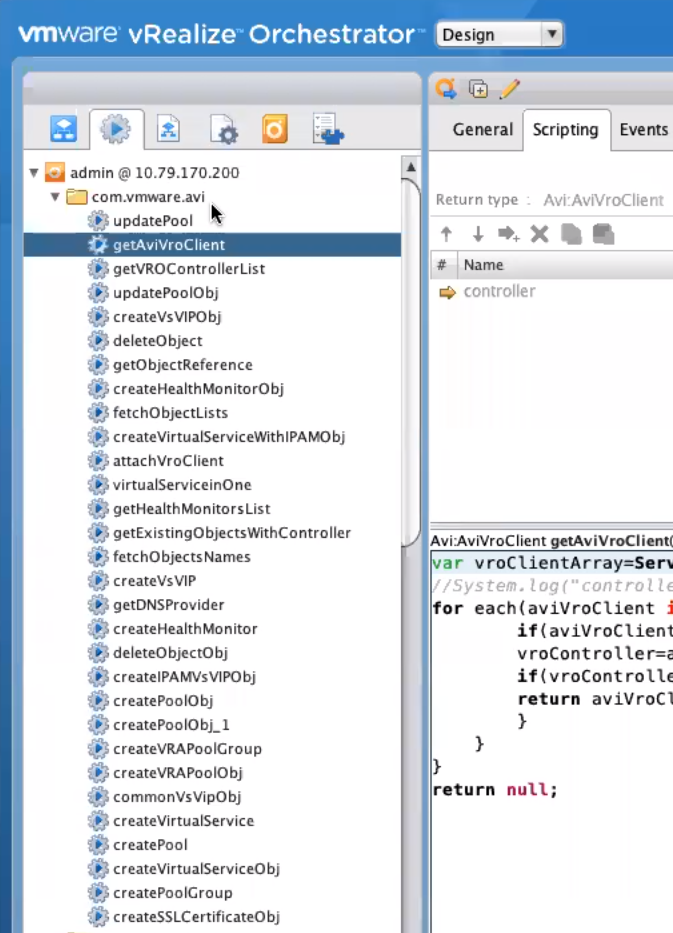
There are certain predefined actions in the workflow. These actions are the reusable components that can be used inside the workflow.
You can also create a new action. Once you have created an action, you can re-use that action multiple times into multiple workflows. Hence the multiple actions can create a single workflow.
You can check for actions by navigating to Actions tab in vmware vRealize Orchestrator window. All actions are stored in com.vmware.avi folder in Actions tab as shown below:

